First off, let’s provide you with a quick description and background into what gLTF is, and then we can jump straight into how to view a gLTF model with ease. gLTF is simply a file type, much like JPEG or PNG, but the key difference is that it is a filetype for 3D models. In fact, it is often described as the ‘JPEG of 3D’, which means it’s a universal, easy to read and lightweight 3D filetype which makes it perfect for use on the web.
If you have been sent a 3D model by a friend, or you’ve downloaded a gLTF model and just looking for a way to view it easily, this article has been written for you. In this blog, we’ll dive into how to view your gLTF model instantly.
Step 1: Drag and Drop gLTF model
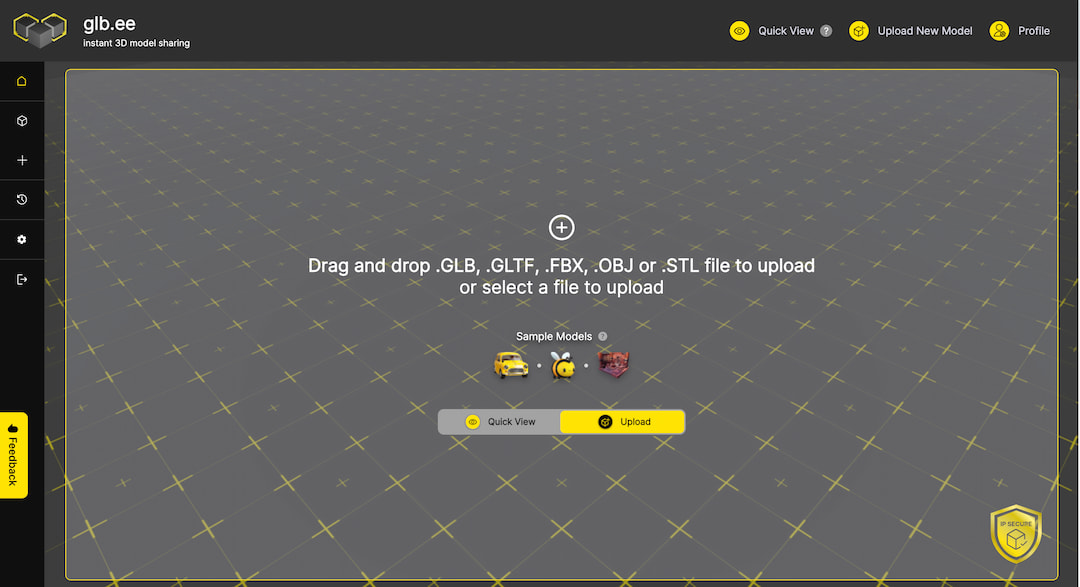
Start by finding the gLTF file saved on your computer. You can either drag and drop this file into the glb.ee upload box OR you can click on the upload box to open the file explorer to manually select your chosen gLTF file.
Once you’ve found your chosen file, upload it into the glb.ee platform and wait for the upload to complete.
Step 2: Upload and View
Once uploaded, your gLTF model is now instantly viewable within the glb.ee interface. You can rotate, zoom in and out to comprehensively inspect your model in high detail.
The lightweight glb.ee model viewer gives you total control of your 3D model.
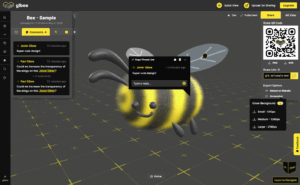
Step 3: gLTF Lighting Settings
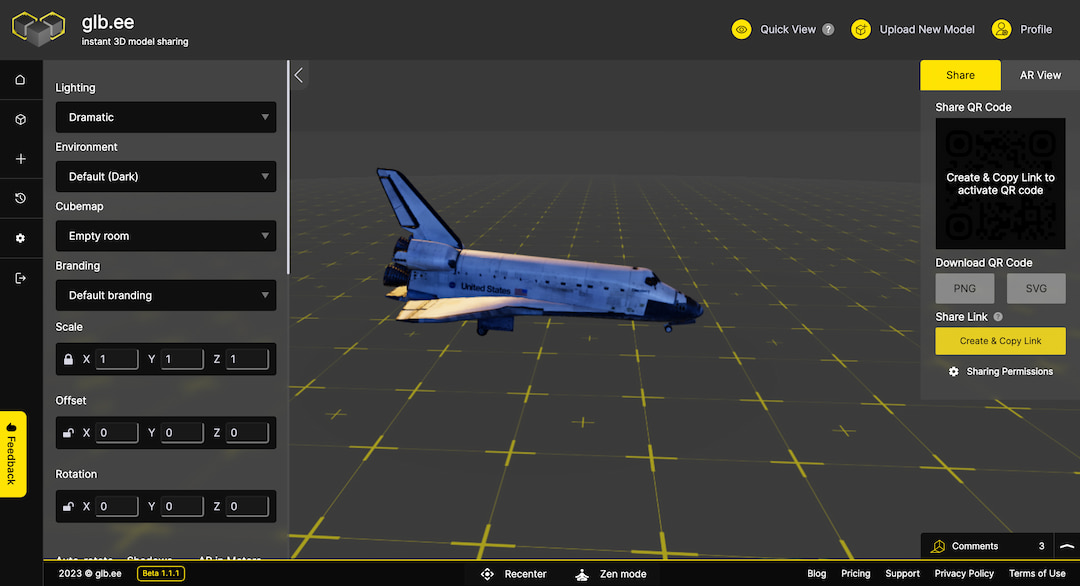
You can play with the lighting settings on your gLTF model from the panel to the left hand side of the viewer. Lighting setting changes include the options for model lighting, and external scene lighting which gives you the opportunity to really match the perfect lighting up to your model.
As an example, if you have a gLTF model of a consumer product, you can choose the ‘product lighting’, which will set the perfect lighting created specifically for 3D models of products.
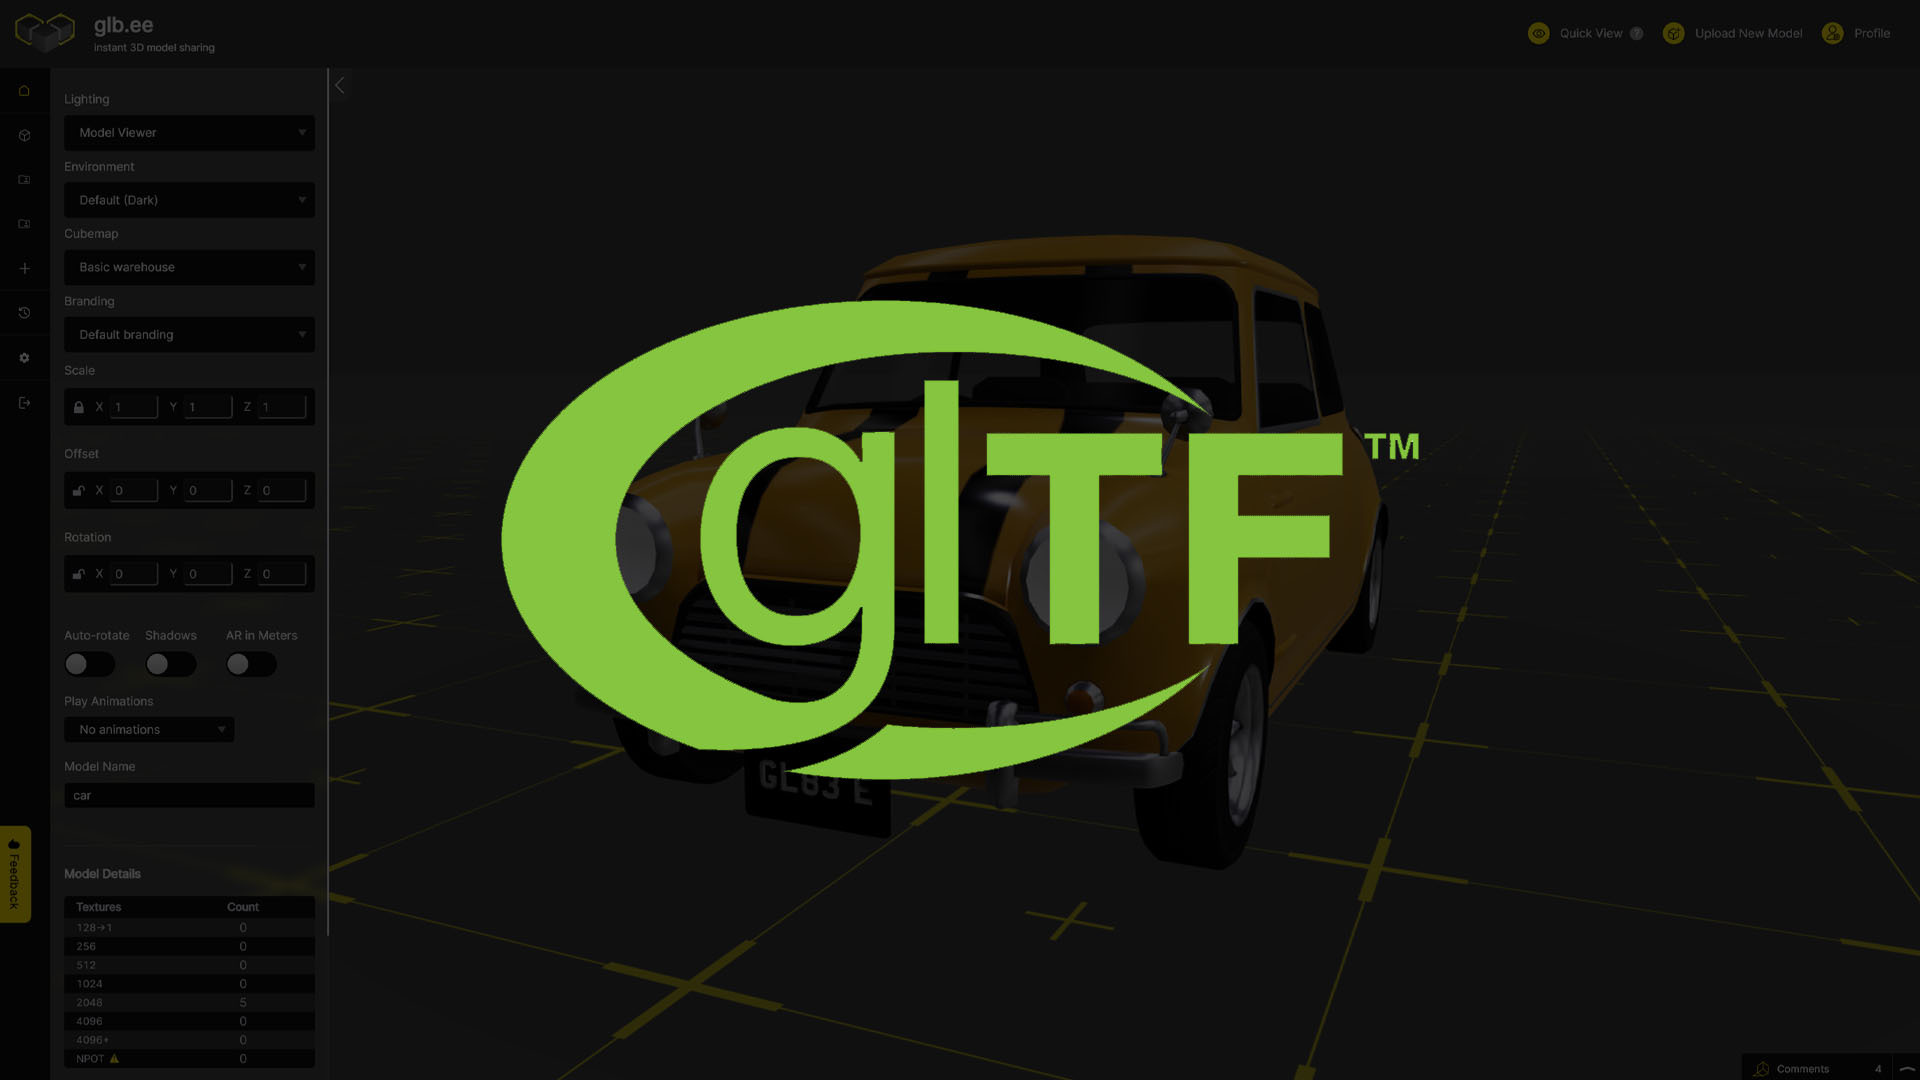
Step 4: Choose a Background
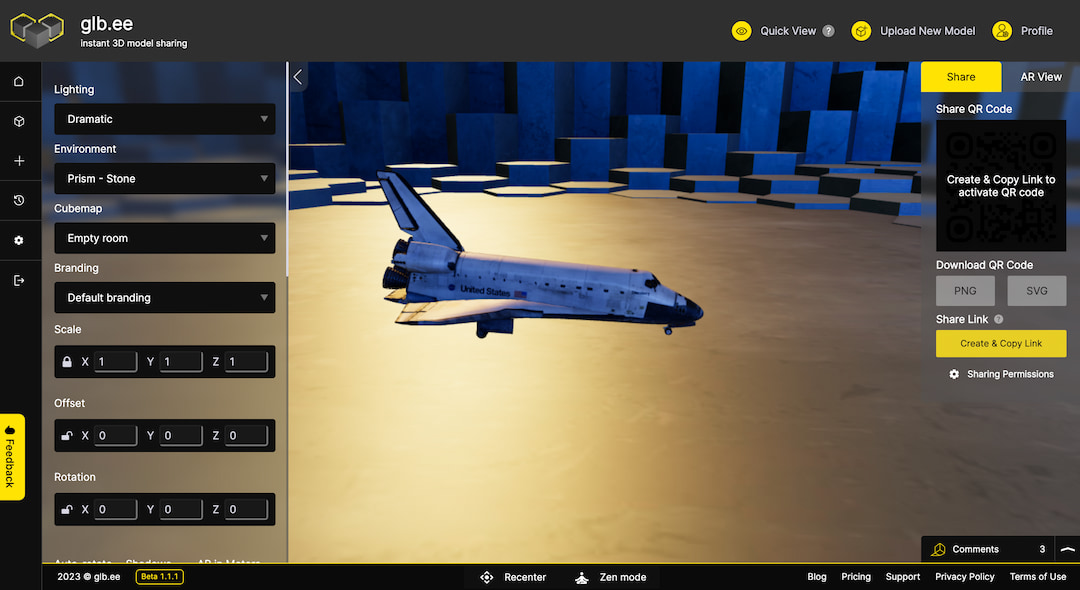
Using the ‘Environment’ dropdown option, you can change the scene to whichever environment suits your model the best. Remember that all of the changes to things like environment, scale and lighting are all automatically saved, and when you’re sharing your 3D model – those same settings changes are carried over with it, which makes this tool super handy when sharing 3D models with friends and colleagues.
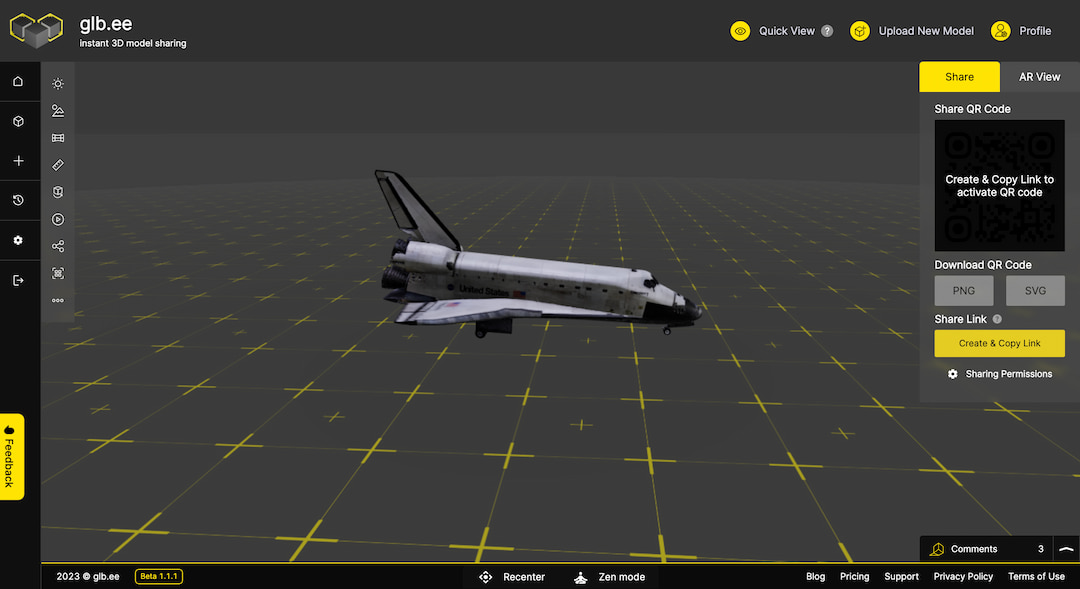
Step 5: Share Your gLTF model
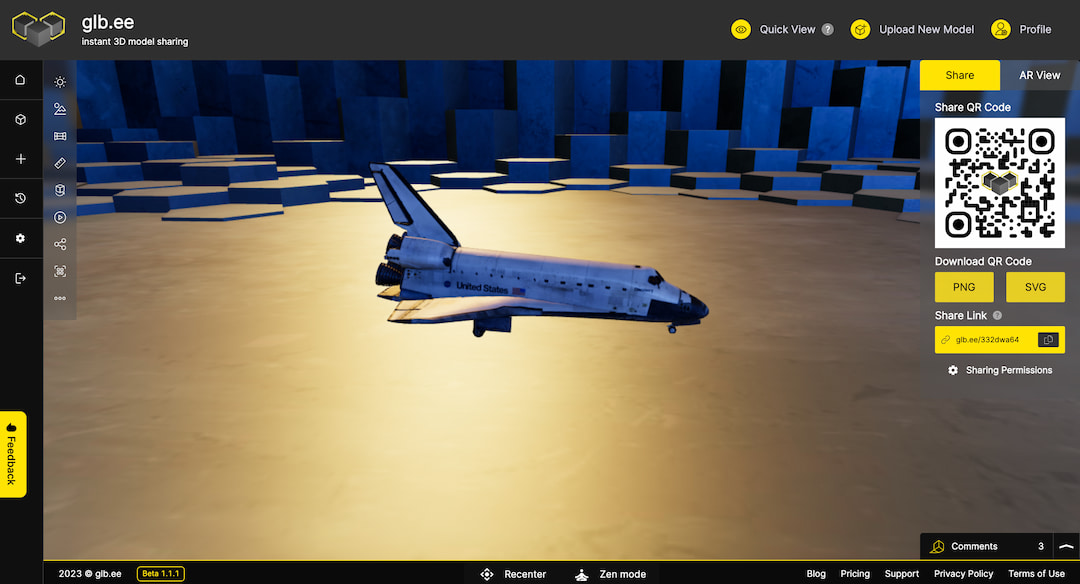
Once you’ve chosen your most favourite settings, you can now share your model, with these settings saved, with anyone on the web. Simply tap the ‘share’ button on the top right to view your sharing options.
You have the option to copy the sharing URL to share publicly, or set your model to ‘restricted access’ which means you can only enable specific users to access your model. The restricted access feature is perfect for companies that want to share their 3D model work without it being on a publicly accessible link.
To try glb.ee for free today click here